










Leaking Faucet Issues: Stop Drips and Lower Water Waste
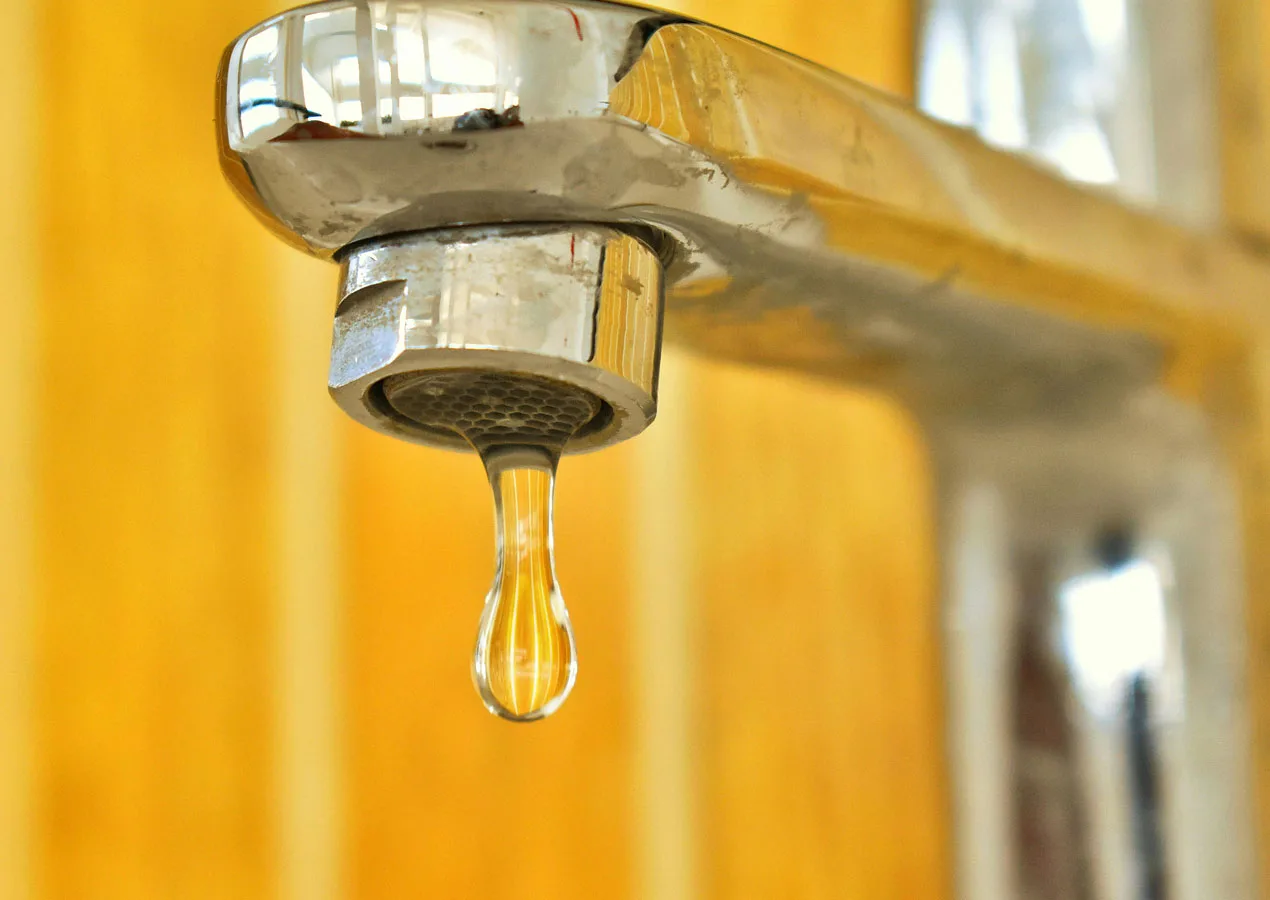
A faucet that keeps dripping after the handle is closed usually has a worn or poorly sealing internal part. Leaking faucet issues may begin as a minor annoyance, but constant dripping wastes water and can leave mineral deposits around the fixture. The correct repair depends on the faucet design, so identification comes before disassembly.
Identify the Faucet Before Taking It Apart
Look at how the handles operate. Two-handle faucets may use compression stems or cartridges, while many single-handle models use cartridges, ceramic discs, or ball-style mechanisms.
Turn off the water supply valves beneath the sink before removing handles or internal parts. Open the faucet afterward to release remaining pressure and confirm that the supply is actually shut off.
| What You Notice | Likely Area to Inspect | Useful Action |
|---|---|---|
| Drip from spout | Valve or cartridge | Inspect sealing parts |
| Leak around handle | O-ring or stem | Check seals |
| Water below sink | Supply connection | Inspect fittings |
| Stiff handle | Mineral buildup | Clean moving parts |
Trace Exactly Where Water Is Escaping
Dry the faucet and surrounding area before testing it. Fresh moisture is easier to trace when the fixture starts completely dry.
A drip from the spout usually points toward an internal valve component rather than the supply line. People managing several small repairs may keep a checklist beside general household repair ideas so recurring leaks do not disappear from attention.
Water collecting under the sink requires a different inspection. Check supply hoses, shutoff valves, threaded connections, and the base of the faucet instead of assuming the cartridge is responsible.
Replace the Worn Part, Not the Whole Faucet
Once the water is off, remove the decorative cap or handle fastener carefully. Photographing the assembly before taking pieces apart can make reassembly easier, especially when washers or clips have a specific orientation.
Take the worn cartridge, washer, or seal with you when matching a replacement. Household organization references such as bathroom comfort ideas can sit alongside your repair notes, but the replacement part still needs to match the actual faucet model.
Coat appropriate rubber seals lightly with plumber’s grease if the manufacturer permits it. Petroleum-based products can damage some rubber components, so use grease intended for plumbing fixtures.
Test the Repair Slowly
Reassemble the faucet without forcing components into position. If a cartridge has alignment tabs, make sure they enter the correct slots before tightening retaining hardware.
Turn the shutoff valves back on gradually and inspect every area you disturbed. Broader everyday room care habits can include checking below sinks after repairs, since a small fitting leak may not appear immediately.
Run both hot and cold water. Then close the faucet and wait long enough to confirm that the original drip has stopped.
What People Often Get Wrong
A dripping faucet does not automatically mean the entire fixture needs replacement. Many leaks come from one inexpensive internal component that has worn, hardened, or accumulated mineral deposits.
The opposite mistake is repeatedly tightening a handle harder. Extra force does not restore a damaged seal and may strain the stem or handle. Another easy error is buying a replacement cartridge based only on appearance; similar-looking parts can differ slightly enough to leak or fit poorly.
Frequently Asked Questions
Why does my faucet drip after I shut it off?
A worn washer, cartridge, ceramic component, valve seat, or seal may no longer close completely. The exact cause depends on the faucet design and where the water is escaping.
Can mineral buildup cause faucet leaks?
Mineral deposits can interfere with moving components and sealing surfaces. Cleaning may help when buildup is minor, although damaged seals or cartridges generally need replacement.
Is a leaking faucet difficult to repair?
Many common faucet repairs are manageable with basic tools if shutoff valves work and replacement parts are identifiable. Corroded fittings, seized components, or inaccessible plumbing can make the job harder.
Fix the Source Instead of Fighting the Drip
Start by finding the exact leak and identifying the faucet type. Shut off the water, replace only the damaged component when practical, and restore pressure slowly while checking your work. A careful repair usually beats repeatedly tightening handles or ignoring a drip until staining, corrosion, or water waste becomes more noticeable.