


A Guide to Installation and Painting
Bay windows, with their projecting design and multiple panes of glass, add character, light, and a sense of spaciousness to any room. However, their installation requires careful planning and execution, and proper painting is essential for both protection and aesthetics. This guide provides an overview of bay window installation and the importance of painting.
Bay Window Installation: A Complex Undertaking
Installing bay windows is a more intricate process than installing standard windows, often requiring structural modifications to the wall. Here’s a breakdown of the key steps:
- Planning and Design:
- Thoroughly plan the design of the bay window, considering its size, shape (e.g., canted, box), and style to ensure it complements the home’s architecture.
- Obtain necessary planning permissions, especially in conservation areas or for significant structural alterations.
- Structural Assessment:
- A structural engineer may need to assess the wall’s load-bearing capacity and design any necessary structural support, such as lintels or headers.
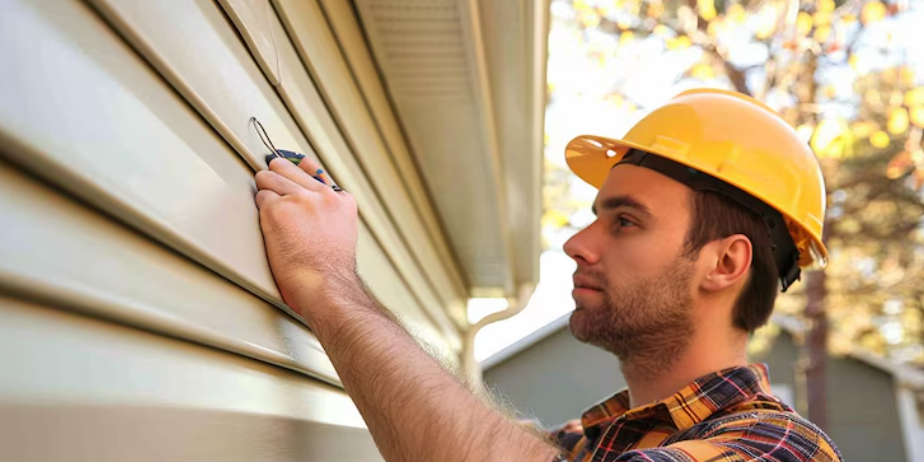
- Opening Preparation:
- Carefully create the opening in the wall, ensuring it is square, level, and plumb. This may involve temporary support for the wall during the process.
- Frame Installation:
- Accurately position and secure the bay window frame, ensuring it is properly supported and aligned. Use shims to achieve precise leveling and plumbing.
- Roof Installation (if applicable):
- If the bay window has a roof, it must be constructed and installed correctly to prevent leaks and structural issues.
- Window Unit Installation:
- Install the individual window units within the frame, ensuring they fit snugly and operate smoothly.
- Sealing and Insulation:
- Thoroughly seal all gaps between the window frame and the wall with high-quality sealant. Proper insulation is crucial to prevent drafts and energy loss.
- Finishing:
- Finish the interior and exterior of the window, including trim, sills, and any other necessary details.
The Importance of Painting Timber Bay Windows
Painting timber bay windows is a crucial step in protecting and enhancing them.
- Weather Protection:
- Paint provides a barrier against rain, snow, wind, and UV radiation, preventing wood rot, decay, warping, and cracking. This is particularly important in the UK’s variable climate.
- Moisture Control:
- Paint helps to seal the wood, regulating moisture absorption and preventing excessive swelling or shrinkage, which can damage the window structure.
- Enhanced Insulation:
- While paint itself provides limited insulation, it helps maintain the window’s integrity, minimizing drafts and heat loss.
- Aesthetic Appeal:
- Paint allows for customization, enabling homeowners to choose colors that complement their home’s style and interior décor.
Choosing the Right Paint for Timber Bay Windows
- Exterior Wood Paint:
- Use a high-quality exterior wood paint, preferably an acrylic-based paint, which offers good flexibility and durability.
- Primer:
- Apply a suitable primer before painting, especially to bare wood, to enhance adhesion and provide a uniform base.
- Flexibility:
- The paint should be flexible enough to accommodate the wood’s natural movement.
Painting Tips for Timber Bay Windows
- Surface Preparation:
- Thoroughly clean, dry, and sand the wood surface to remove any imperfections or loose paint.
- Even Application:
- Apply the paint in thin, even coats, following the wood grain.
- Drying Time:
- Allow each coat to dry completely before applying the next.
- Protection:
- Protect glass and hardware with masking tape.
Proper installation and painting are essential for ensuring that your bay windows provide lasting beauty, functionality, and value to your home.